Creating a tour session
Categories: Getting started Tours
Step 1
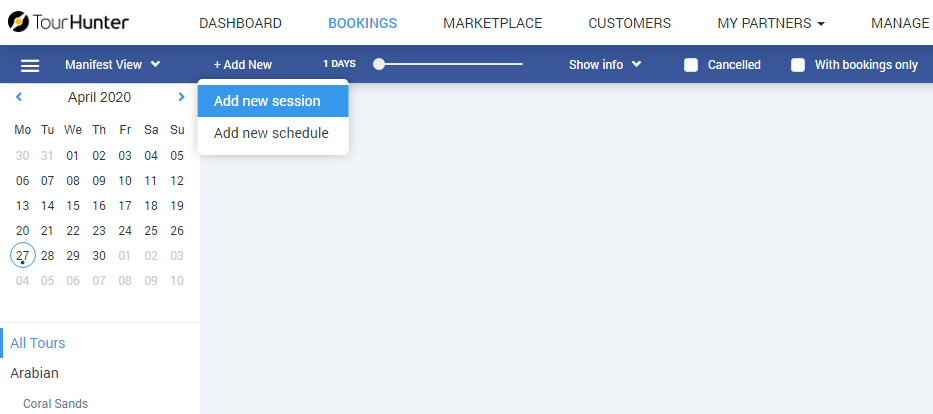
Go to “Bookings > Manifest view” section.
Step 2
Click on “+ Add New” dropdown on the second header and select “Add new session” menu item.
Step 3
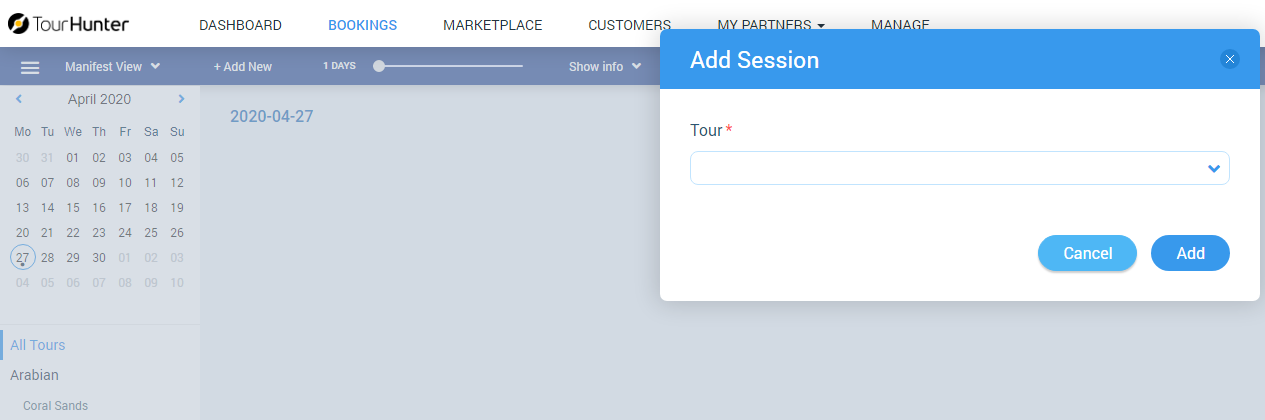
Click on dropdown “Tour” and choose a tour.
Step 4
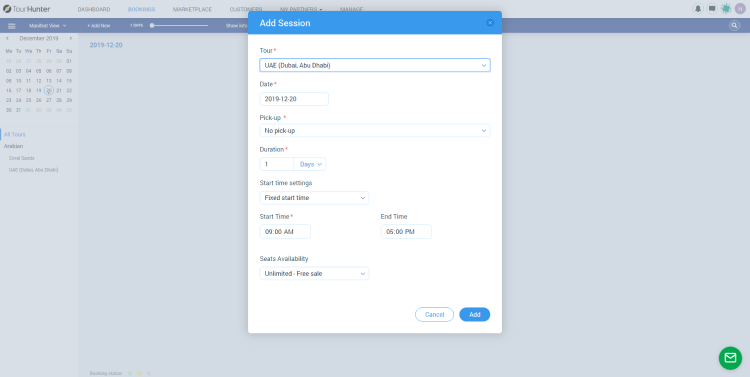
Setup fields, such as:
- “Pick-up” - select pick-up list from previously created ones for making a bookings with pick-up/drop-off locations and areas. The field is required;
- “Duration” - duration of a tour;
- “Start time settings” - start tour settings. Three options for starting the tour are available:
- “Fixed start time” - with setting start time;
- “Customer can choose a time” - the user can select the start of the tour from the range set by this option. If you select “Customer can choose a time”, if the user makes a tour booking for a time that is not in the acceptable range, than the message “Start time must be in specified interval” is displayed;
- “Start time is flexible” - the start of the tour is not indicated (the tour can start at any time). In the booking modal, instead of indicating the time, there will be an inscription “N / A”;
- “Seats Availability” - the number of seats on the tour. Four options are available (“Unlimited”; “Limited - fixed limit per session” with the choice of the number of seats; “Limited - By resources”);
- “Tour options” - checkboxes with the specified tour options. Displays only if the tour have an options.
And then click on “Save” button.
Step 5
Сreate a session from tour setup - go to “Manage > My Tours > Tour settings > Schedules”. Click on “+ Add New Session” and then setup all required data.

Related articles
- Creating a tour
- Creating a tour schedules
- How to add other tours to "My Tours"?
- How to cancel a session?
- How to publish a tour to "Marketplace"?
- How to publish tour to "White Label"?
- How to setup a session?
- How to setup & assign extras for a tour?
- How to setup fees for a tour?
- How to setup languages for a tour?
- How to setup taxes for a tour?