How to setup & assign extras for a tour?
Categories: Extras
Step 1
Go to “Manage > Extras”.
Step 2
Click on the “Create New Extra” button.

Step 3
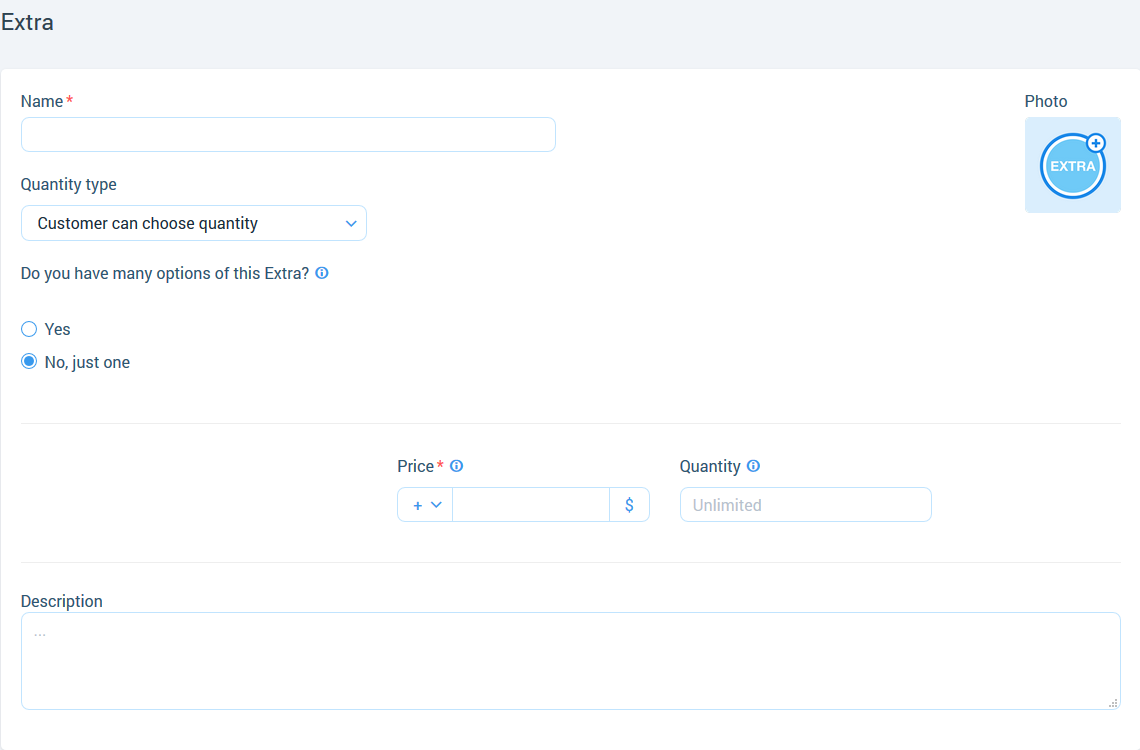
Fill the required fields:
- “Name”;
- “Photo”;
- “Quantity type”:
- “Customer can choose quantity”. If this type is selected then in booking modal in the “Extras” will be displayed:
- for 1 option - 1 input with “+/-” for extra;
- for 2 or more options - inputs with “+/-” for each option;
- “1 item per booking”. If this type is selected then in booking modal in the “Extras” will be displayed:
- for 1 option - checkbox with this option;
- for 2 or more options - dropdown with these options;
- “1 item per each participant”. If this type is selected then in booking modal in the “Extras” will be displayed:
- for 1 option - checkbox with this option;
- for 2 or more options - dropdown with options for each participant;
- “Description”.
Step 4
Set up “Options”:
- “Option name” - available if you choose “Yes” in “Do you have many options of this Extra?”;
- “Price”;
- “Quantity”.

Step 5
Click on the “Save” button.
Step 6
Add extra on the tour creation step “Extras”.
Related articles
- Creating a tour
- Creating a tour schedules
- How to add other tours to "My Tours"?
- How to cancel a session?
- Creating a tour session
- How to publish a tour to "Marketplace"?
- How to publish tour to "White Label"?
- How to setup a session?
- How to setup fees for a tour?
- How to setup languages for a tour?
- How to setup taxes for a tour?