Creating a tour
Categories: Getting started Tours
Step 1
Check your company type. Only Supplier can create tours.
Step 2
Go to “Manage > My Tours” and click “+ New Tour” button.

Fill out the required fields through the all steps.
Step 3
Setup general information at the “General” step.
Fill out tour name.
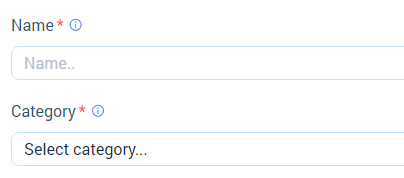
Choose or create a tour category.
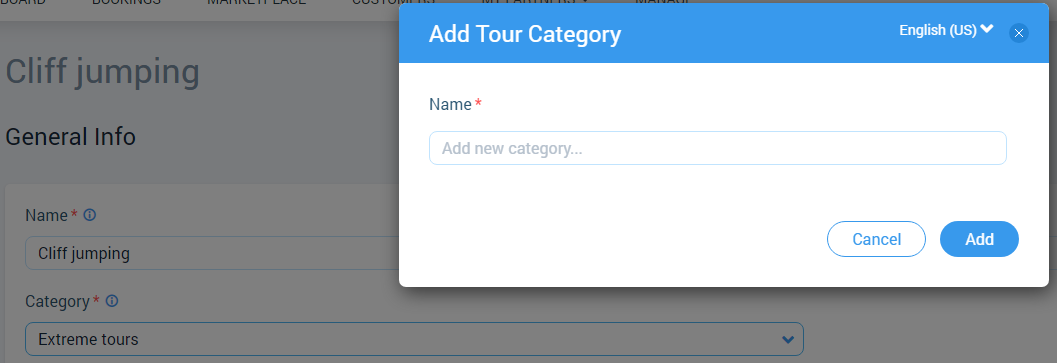
These fields are required for save a tour and move on the next steps.
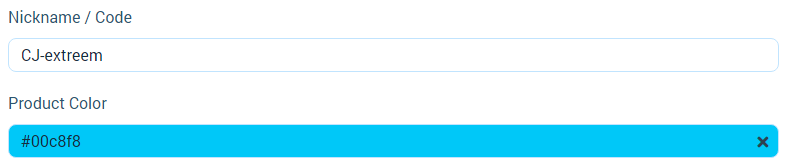
Indicate nickname and color label of a tour.
These options are for informational purposes only.
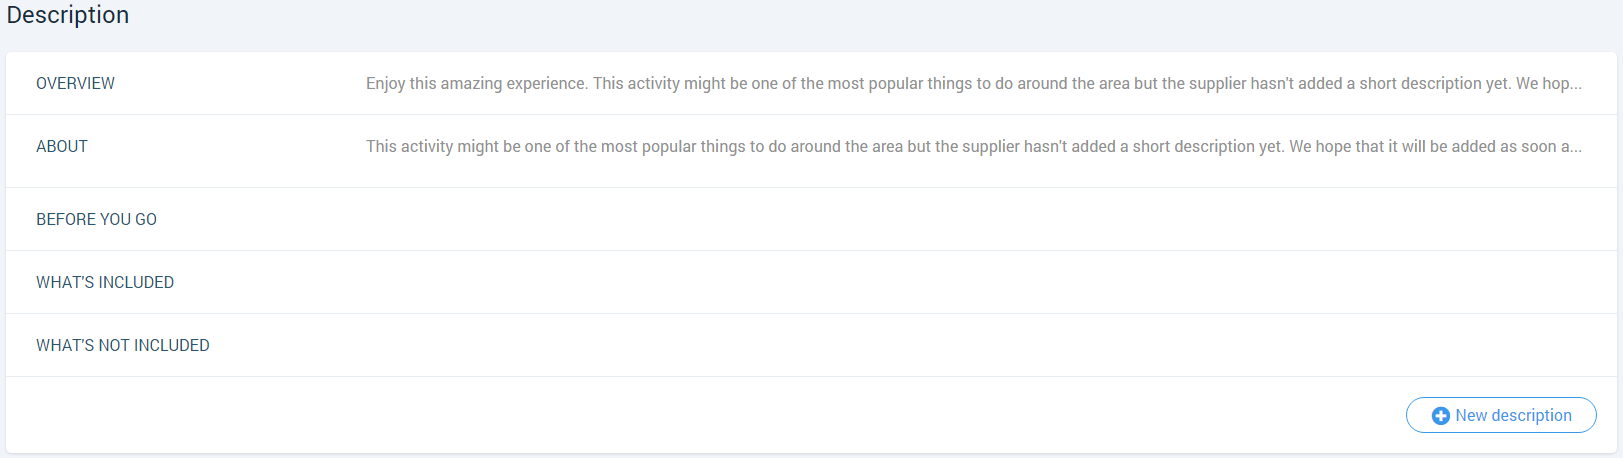
Fill out a descriptions for a tour.
Add system and custom descriptions which will be displayed in the preview section of a tour at “Marketplace” and “White Label”.
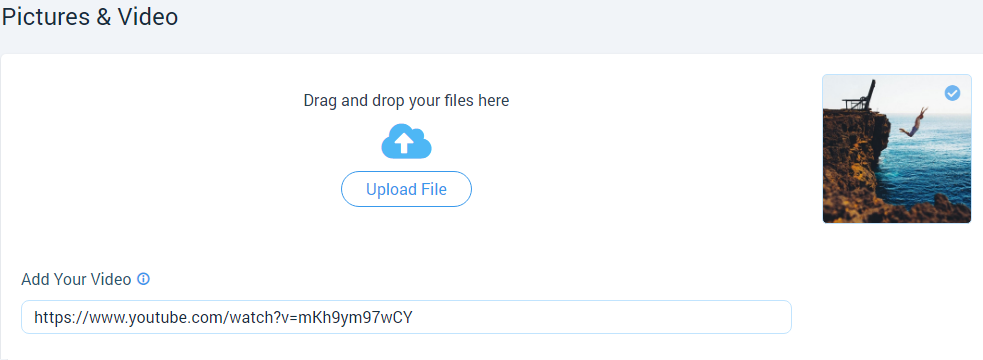
Upload pictures or video for a tour.
Pictures and video of a tour give imagination of an activity and will be displayed in the preview section of a tour at “Marketplace” and “White Label”.
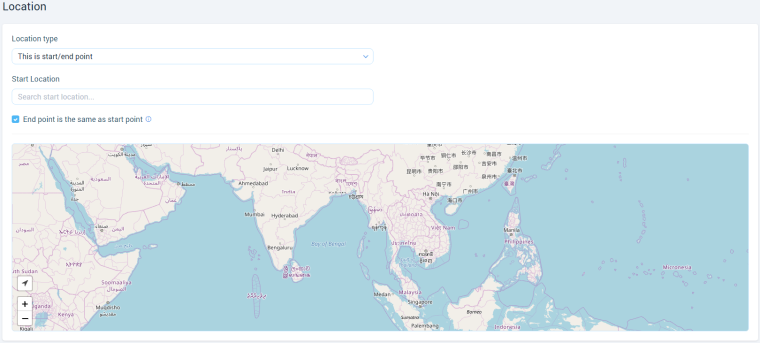
Add start/end or a destination point for a tour.
Location points will be displayed in the preview section of a tour at “Marketplace” and “White Label”.
After indicating a data, click on “Save” button for saving a changes or click on “Next >” button for saving changes and moving to the next step.
Step 4
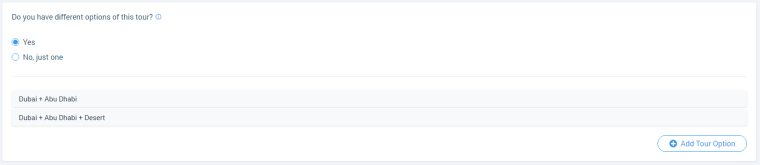
Setup different options for the tour.
Configure variations of the tour with different settings at the “Tour Options” step.
Turn on “Yes” radiobutton for add some options of a tour. Click on “+ Add Tour Option” to add more tour options.
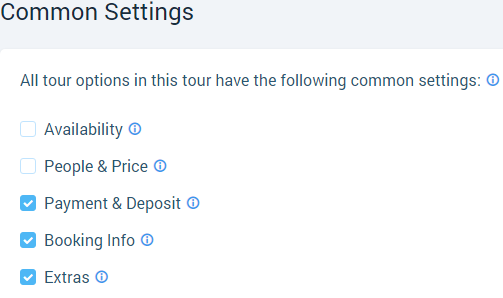
Turn on checkboxes with common settings for all tour options in those tour. The settings which has not been selected will be different for tour options.
After creating a tour options, click on “Save” button for saving a changes or click on “Next >” button for saving changes and moving to the next step.
Step 5
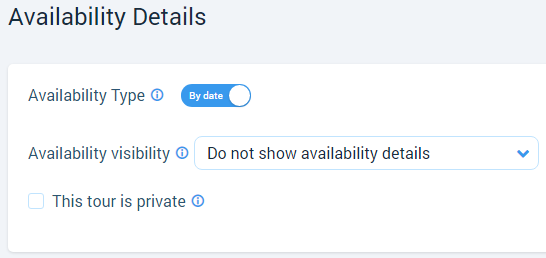
Configure availability details for the tour at the “Availability” step.
Setup:
- accessibility of sessions and schedules;
- displaying of available seats in booking;
- the privacy of the tour (or tour options).
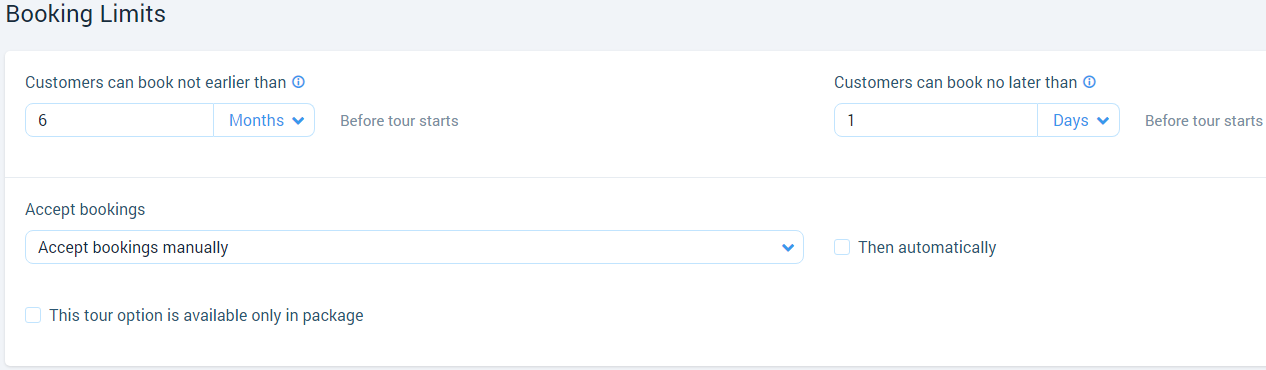
Setup booking limits such as:
- pre-booking option (“Customers can book not earlier than” or “Customers can book not later than”);
- automatic or manual confirmation of a bookings.
Click on “Save” button for saving a changes or click on “Next >” button for saving changes and moving to the next step.
Step 6
Setup schedules or sessions for a tour.
The step “Schedules” is displayed only if radiobutton “Availability Type > By date” is selected on the step “Availability”.
Create a tour schedules.

Create a tour session.

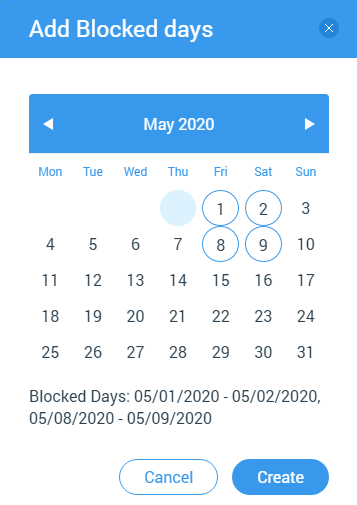
Setup blocked days for a tour.
On blocked days a customer won’t be able to book a tour.

Click on “Save” button for saving a changes or click on “Next >” button for saving changes and moving to the next step.
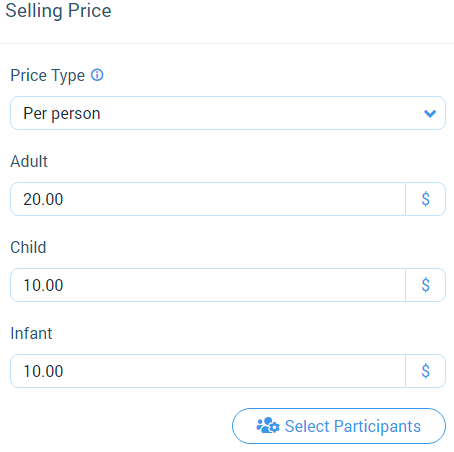
Step 7
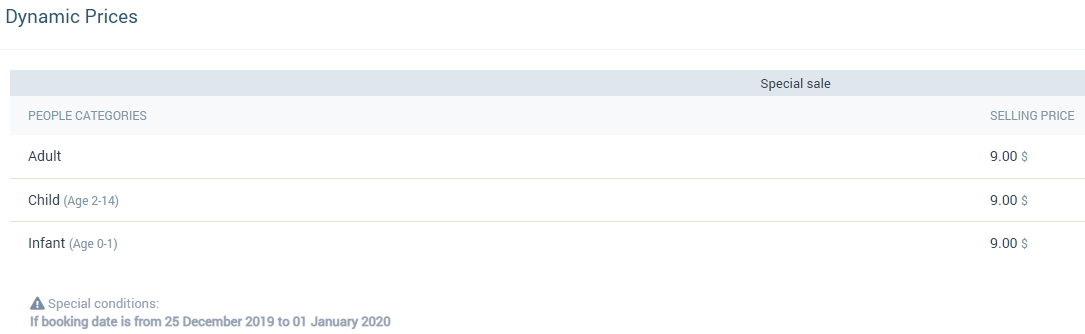
Setup selling prices for a tour for participant categories who will make a booking on the step “People & Price”. Fill out prices for existing people categories or add new categories and setup prices for them.
Setup dynamic prices on the step “People & Price” whith special conditions, such as:
- “If the date when the booking is created is…”;
- “If the booking date is…”;
- “If the booking has promotion…”;
- “If the booking date is on weekdays…”;
- “If the booking is created (before start)…”;
- “If the booking is created between…”;
- “If available seats are less than…”;
- “If available seats are more than…”;
- “If total people for booking are…”.
If some conditions are set then the price for participants may be different from actual.
Add fees and taxes on the step “People & Price”.
Configure additional charges for participants such as fees or taxes. Before the add fee or tax they are must be created at “Manage > Fees & Taxes” section.
Click on “Select Fees & Taxes” button for add those to the tour.
Click on “Save” button for saving a changes or click on “Next >” button for saving changes and moving to the next step.
Step 8
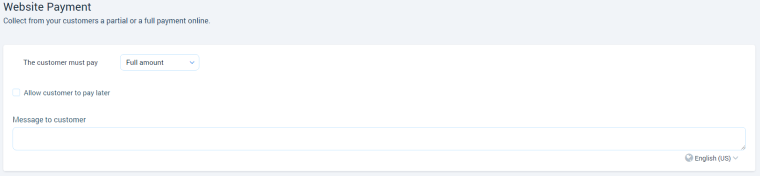
Configure payment and deposit settings on the step “Payment & Deposit”.
Setup type of a payment and payment conditions.
Payment conditions affect on the payment process in “Checkout” modal window:
- if “Full Amount” is selected, then the calculated amount for a booking in “Total” and “Due Now” (equally) is displayed in the “Checkout” modal window. The “Due Later”, “Pay in Full”, and “Pay Partial” fields are not displayed;
- if “Partial Amount” is selected, the calculated amount for a booking in “Total”, “Due Later” and “Due Now” (according to the setup for the deposit) is displayed in the “Checkout” modal window. The “Pay in Full” and “Pay Partial” fields are not displayed;
- if “Partial Amount” is selected and the checkbox “Allow customer to pay full amount” is enabled, then in the “Checkout” modal window the calculated amount for booking in “Total”, “Due Later” and “Due Now” fields is displayed (according to the setup for the deposit). The “Pay in Full” and “Pay Partial” fields are displayed and the user can pay the deposit according to the settings or he can pay full amount by selecting the necessary radiobutton;
- if “No payment” is selected, the calculated amount for booking in “Total”, “Due Later” and “Due Now” fields is displayed (“Total” = “Due Later”, “Due Now” = 0) in the “Checkout” modal window. The “Pay in Full” and “Pay Partial” fields are not displayed.
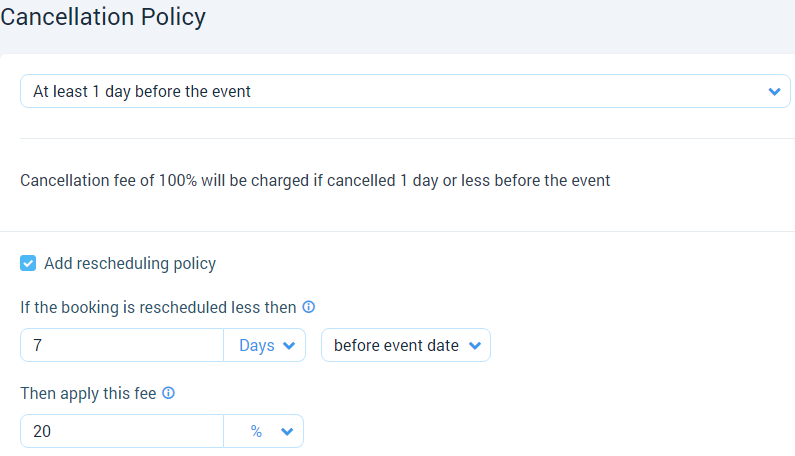
Setup cancellation or rescheduling policy.
Configure cancellation fee for customers which will be charged due to booking cancellation.
Configure rescheduling fee for customers which will be charged due to session recheduling.

Click on “Save” button for saving a changes or click on “Next >” button for saving changes and moving to the next step.
Step 9
Setup the fields which will be displayed at the booking modal window on the step “Booking Info”.
Configure fields for “Customer Details” block. Add system or custom fields on which personal information about customer will be filled up.
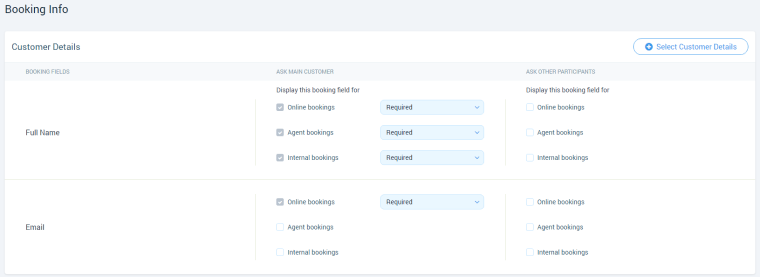
Configure fields for “Pick-up Details” block. Add system fields such as “Pick-up location” or “Room number” which will be displayed in booking modal window.

Configure fields for “Booking Details” block. Add system or custom fields for details of booking for example: voucher number, remarks, special requirements, etc.

Click on “Save” button for saving a changes or click on “Next >” button for saving changes and moving to the next step.
Step 10
Setup additional extra options in due the booking on the step “Extras”.
Before the add extras they are must be created at “Manage > Extras” section.
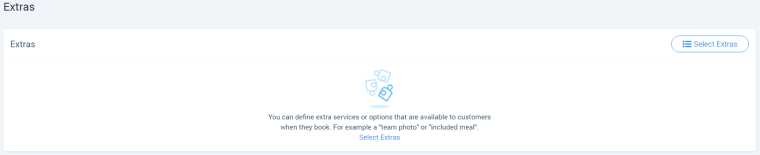
Click on “Save” button for saving a changes or click on “Next >” button for saving changes and moving to the next step.
Step 11
Setup abilities of a tour for the participants and publish a tour on ste step “Publish”.
Enable checkboxes “Publish in marketplace” and “Publish to my website” for publish the tour at TourHunter environment.
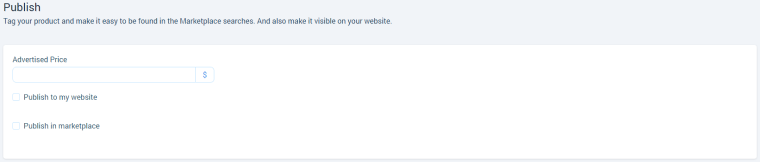
Configure tour abilities for participants. Those will help users find a tour at “Marketplace”.
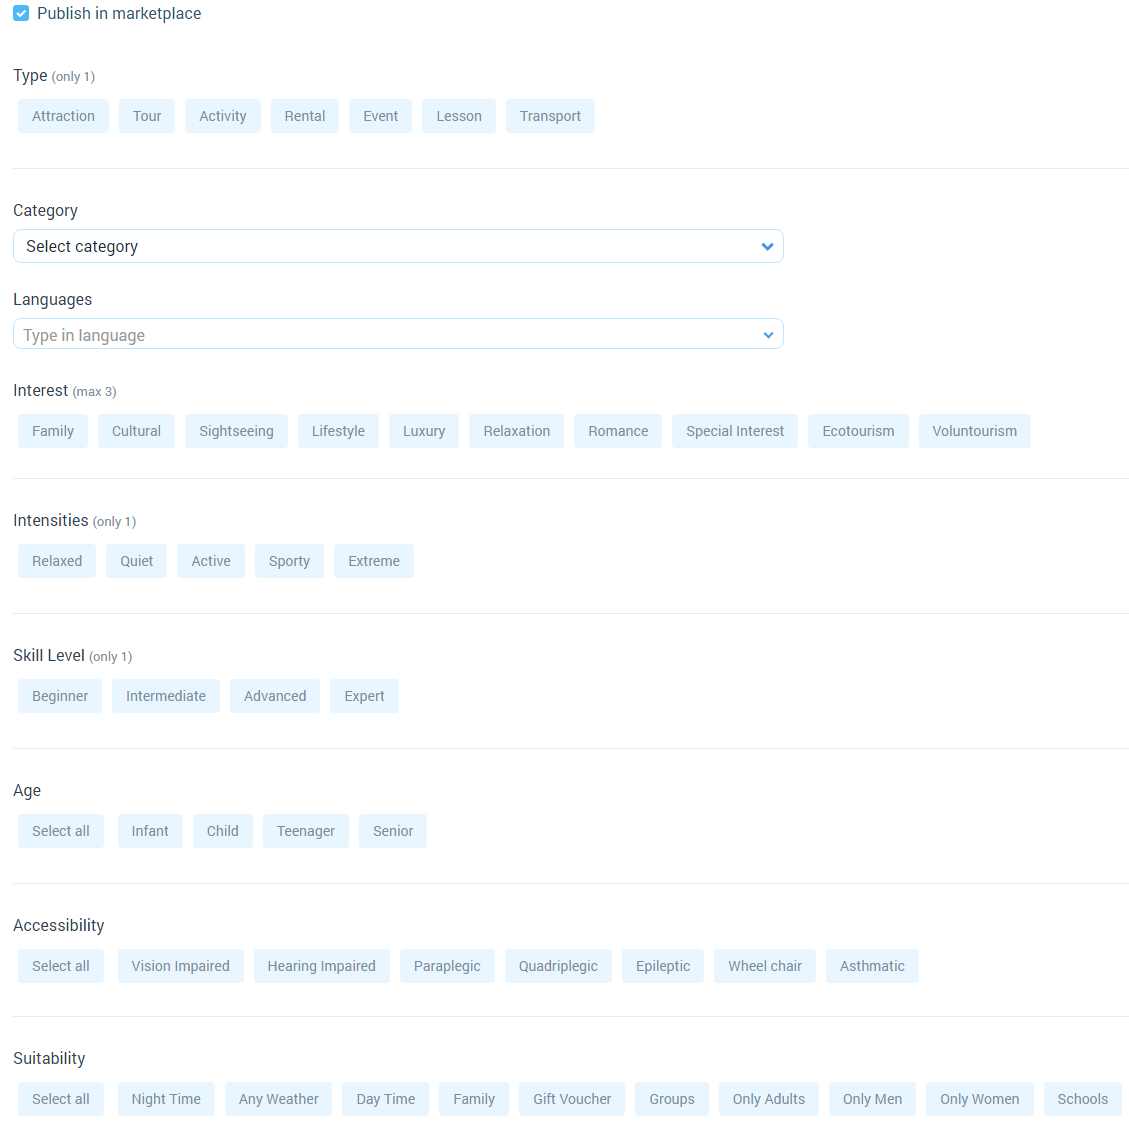
Click on “Save” button for saving a tour and publish him at “Marketplace” and (or) “White Label”.
Related articles
- Creating a tour schedules
- How to add other tours to "My Tours"?
- How to cancel a session?
- Creating a tour session
- How to publish a tour to "Marketplace"?
- How to publish tour to "White Label"?
- How to setup a session?
- How to setup & assign extras for a tour?
- How to setup fees for a tour?
- How to setup languages for a tour?
- How to setup taxes for a tour?