How to setup languages for a tour?
Step 1
Go to “Manage > My Tours”, сhoose the “Edit” menu item in the ellipsis menu or click on tour card and go to step “General”.
Step 2
To set up a language for the tour name click on the dropdown under the field and click on the “Save” button on the step of the tour.

Step 3
Tour category languages configuring at “Manage > My Tours” or in the tour settings.
Click on “Edit” icon on the category card to set up a language for the tour category at “Manage > My Tours”.
Select a language in a dropdown and translate description. Click on “Save” button in the opened modal when translation will be done.

To set up a language for the new tour category in the tour settings click on the dropdown “Сategory” and choose “+ New Category” menu item.
Select a language in a dropdown and translate description. Click on “Add” button in the opened modal when translation will be done.
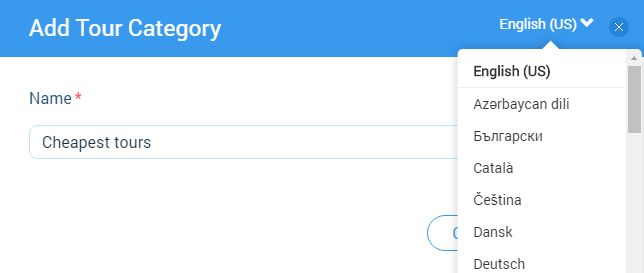
Click on “Save” button for saving a changes or click on “Next >” button for saving changes and moving to the next step.
Step 4
To setup language for the tour description in the “Overview” section click on a description card.
Select a language in a dropdown and translate description in the opened modal. Click on the “Ok” button.
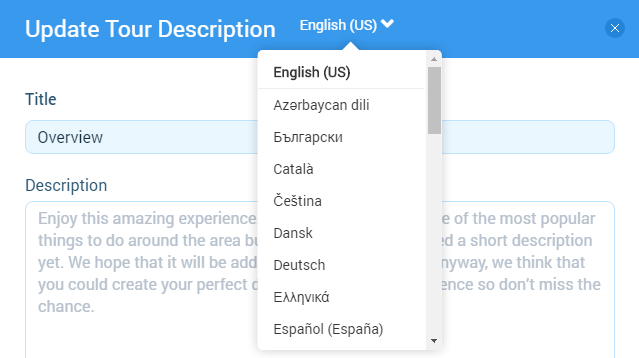
Click on “Save” button for saving a changes or click on “Next >” button for saving changes and moving to the next step.
Step 5
To setup language for the tour description in the “About” section click on a description card.
Select a language in a dropdown and translate description in the opened modal. Click on the “Ok” button.
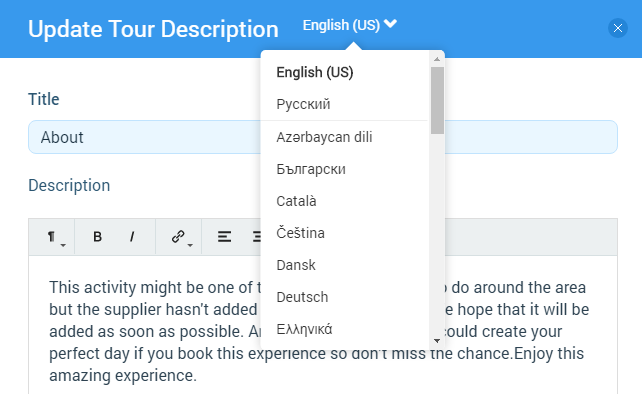
Click on “Save” button for saving a changes or click on “Next >” button for saving changes and moving to the next step.
Step 6
To setup language for the tour description in the “Before You Go” section click on a description card.
Select a language in a dropdown and translate description in the opened modal. Click on the “Ok” button.
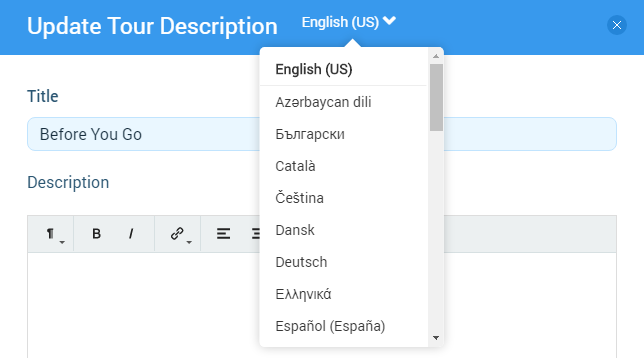
Click on “Save” button for saving a changes or click on “Next >” button for saving changes and moving to the next step.
Step 7
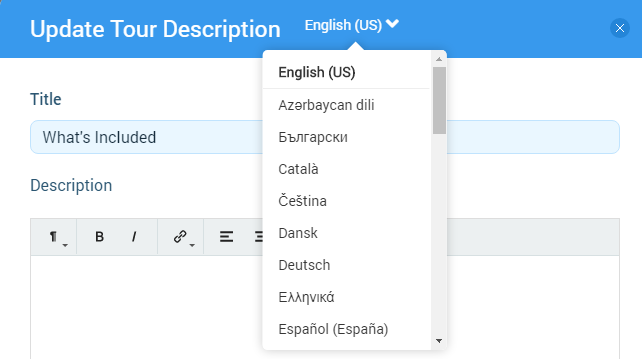
To setup language for the tour description in the “What’s Included” section click on a description card.
Select a language in a dropdown and translate description in the opened modal. Click on the “Ok” button.
Click on “Save” button for saving a changes or click on “Next >” button for saving changes and moving to the next step.
Step 8
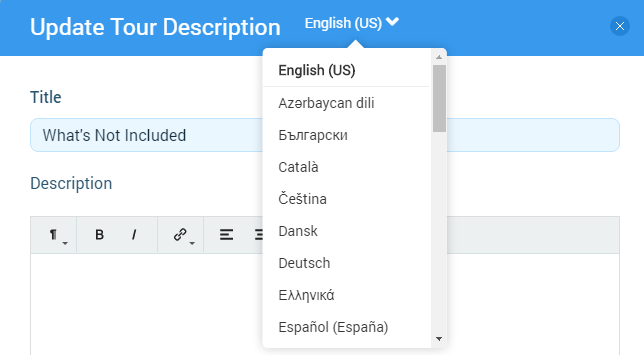
To setup language for the tour description in the “What’s Not Included” section click on a description card.
Select a language in a dropdown and translate description in the opened modal. Click on the “Ok” button.
Click on “Save” button for saving a changes or click on “Next >” button for saving changes and moving to the next step.
Step 9
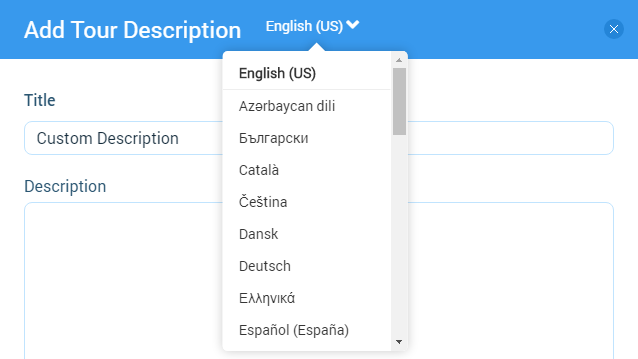
To setup language for the custom tour description in the new added section click on a custom description card.
Select a language in a dropdown and translate description in the opened modal. Click on the “Ok” button.
Click on “Save” button for saving a changes or click on “Next >” button for saving changes and moving to the next step.
Step 10
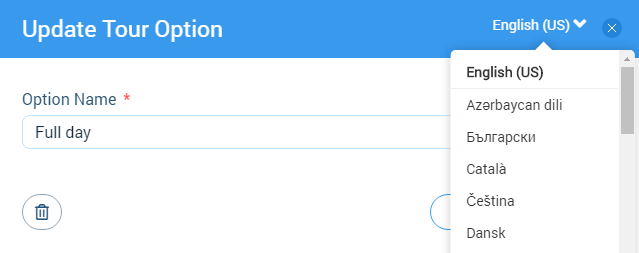
Go to step “Tour Options” for set up translation for tour options names.
Choose “Edit Name” menu item in the ellipsis menu. Select a language in a dropdown and translate tour option name in the opened modal. Click on the “Ok” button.
Click on “Save” button for saving a changes or click on “Next >” button for saving changes and moving to the next step.
Step 11
Go to step “Payment & Deposit > Website Payment” for setup language in the “Message to a customer” field.
Select a language in a dropdown and translate message to customer. Click on the “Ok” button.

Click on “Save” button for saving a changes or click on “Next >” button for saving changes and moving to the next step.
Step 12
Go to step “Booking Info” for set up language for custom fields.
Click on the “+ Select Customer Details” button. And then click on the “+ New Field” button for add new custom field with translation or click on “Edit” icon for add translation for existing one.
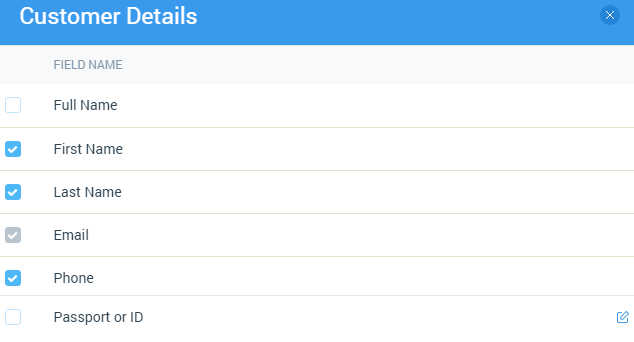
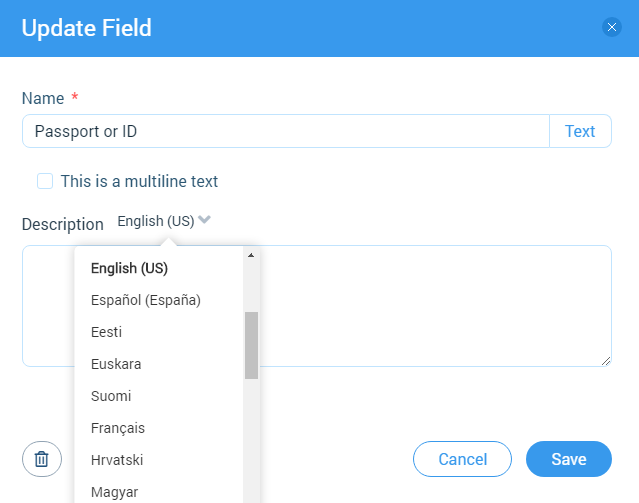
Select a language in a dropdown and translate custom field name in the opened modal. Click on the “Add” (or “Save”) button.
Click on “Save” button for saving a changes or click on “Next >” button for saving changes and moving to the next step.
Step 14
Set up a language for custom fields in the “Booking Details” section at the “Booking Info” step.
Click on the “+ Select Booking Details” button. And then click on the “+ New Field” button for add new custom field with translation or click on “Edit” icon for add translation for existing one.
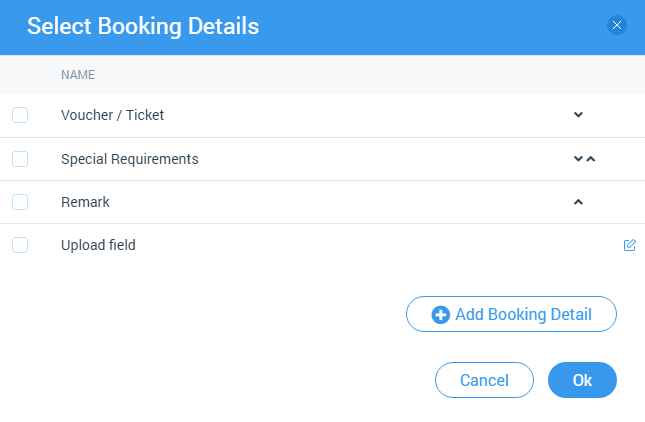
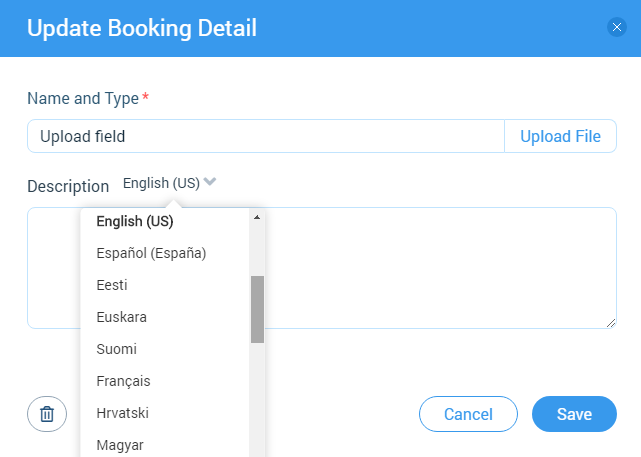
Select a language in a dropdown and translate custom field name in the opened modal. Click on the “Add” (or “Save”) button.
Click on “Save” button for saving a changes or click on “Next >” button for saving changes and moving to the next step.
Related articles
- Creating a tour
- Creating a tour schedules
- How to add other tours to "My Tours"?
- How to cancel a session?
- Creating a tour session
- How to publish a tour to "Marketplace"?
- How to publish tour to "White Label"?
- How to setup a session?
- How to setup & assign extras for a tour?
- How to setup fees for a tour?
- How to setup taxes for a tour?