How to configure columns in manifest?
Categories: Bookings
Step 1
Go to “Bookings > Manifest view”.
Step 2
Click on the manifest, there are should be a bookings to configure columns. In other way columns won`t be displayed.

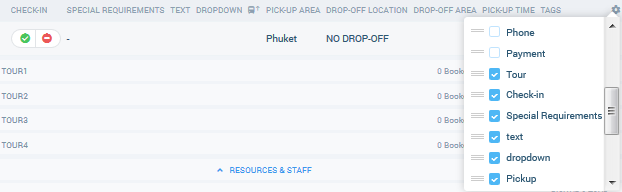
Click on the gear icon to configure system columns.
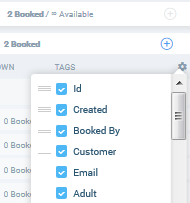
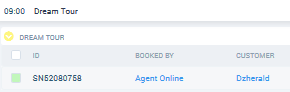
There are columns which display by default:
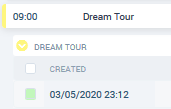
- “Created”. Shows the date and time (according to the regional settings) when the booking was created;
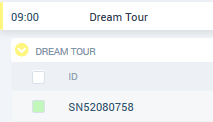
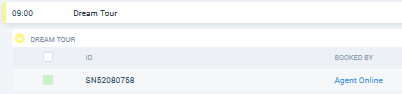
- “ID”. Shows unique booking ID in the format “ХY12345678”;
- “Booked By”. Shows user name or company name who have created a booking;
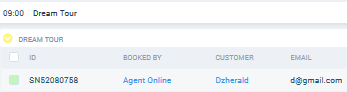
- “Customer”. Shows main participant name;
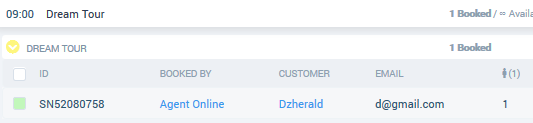
- “Email”. Shows main participant email address;
- “Participant category”. Shows number of participants who are in the booking according to their categories;
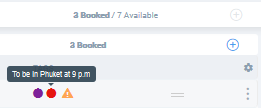
- “Tags”. Always shown and cannot be turned off. Each company has its own tags. For the Agent company the Supplier company’s tags are not displayed. Additionally, in the “Tags” column a system warning may be displayed in case if all required fields in the booking are not filled or when the booking is created for Agent without active price list for the date of booking.
Step 3
Sort system columns by drag and drop them.
Step 4
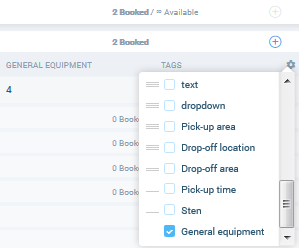
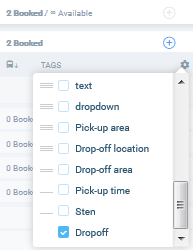
Click on the gear icon to configure custom columns.
Custom columns consist of:
- columns that are related to the “Booking Info”, “Extras” fields that were added during the tour setup on the steps “Booking Info”, “Extras”.
For add them to the list do next: go to “Manage > My Tours” and open a tour setup; add required fields on the steps “Booking Info” and “Extras”.
- columns that are related to the “Resources” fields that were assigned to the booking.
For add them to the list do next: go to “Manage > Resources” and add the resource in the сategory; add card of the resource in the block “Resources & Staff” at the “Bookings > Manifest view” section;
- columns with pick-up and drop-off buses that are related to the “Pick-up” and “Drop-off” fields that were assigned for the booking.
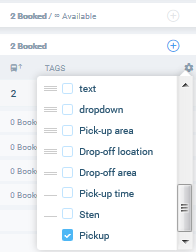
For add them to the list do next: go to “Manage > My Tours” on the step “Booking Info”, choose checkbox “Pick-up location” in the “Select pick-up Options” modal and set up “Pick-up & Tour” in the card of the resource at the “Bookings > Manifest view” section. Set up “Tour & Drop-off” in the card of the resource to configure “Drop-off” resource.
Step 5
Sort custom columns by drag and drop them.
Suggestions
If some fields in the booking are empty, then the columns in the manifest will be empty also. By clicking on the name of any of the columns, sorting in ascending / descending order is performed.

Related articles
Articles in this category
- Bookings data export
- Creating booking in the past
- Creating a custom "Manifest view"
- How to add a transfer resource?
- How to block available seats for the session?
- How to cancel a booking?
- How to cancel a session?
- How to change a booking status?
- How to create a booking at "Bookings" in "Manifest view"?
- How to edit a booking?
- How to export a transfer resource?
- How to get a booking voucher?
- How to get a booking database?
- How to see bookings at transfer view?
- How to send a notification about booking that had been changed?
- How to send a message or upload an image for a booking?
- How to setup a session?
- How to sort a bookings?
- Pick-up and drop-off sessions
- Private and group transfer