How to setup "My Website"?
Categories: White label
Step 1
Go to “Manage > My Website”.
Configure the next sections:
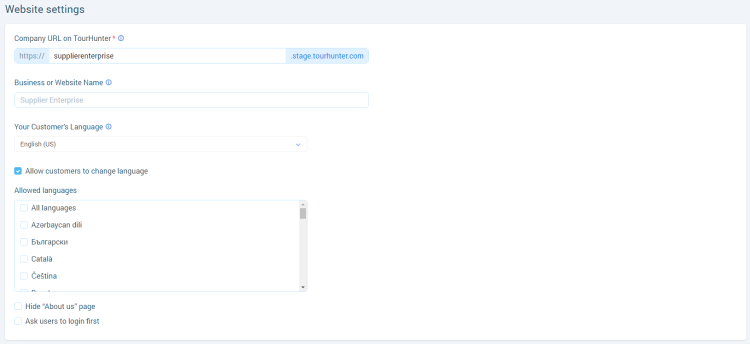
- “Website settings” - set up: URL for “White Label”, a name for “White Label”, language, accessibility of section “About Us”, the necessity of authorization.
- “Connect a domain” - set up custom domain connection for “White Label” (if it’s necessary).
- “Payments” - manage payment methods.
Step 2
Fill the required fields.
- “Company URL on TourHunter” - this required field filled up by default.
- “Business or Website Name” - the name of company website which will be displayed on the title and footer of a website on “White Label”.
- “Your Customer’s Language” - required field. A language that will be used to work on website.
- “Allow customers to change language” - allows customers to change the language.
- “Hide “About us” page” - allows to hide company information at “White Label”.
- “Ask users to log in first” - turned off by default. If turned on, requires authorization to go to “White Label”.
Step 3
Connect a domain if it’s necessary.
Related articles
Articles in this category
- How to connect a custom domain?
- How to disconnect a custom domain?
- How to login at "White Label"?
- How to publish tour to "White Label"?
- How to restrict an access to “White Label”?
- How to setup payment methods for "White Label"?
- How to create a booking at "White Label"
- Tour catalogue and tour selection on "White Label"
- What is "White Label"?