How to create a resource?
Categories: Resources
Step 1
Go to “Manage > Resources”.
Step 2
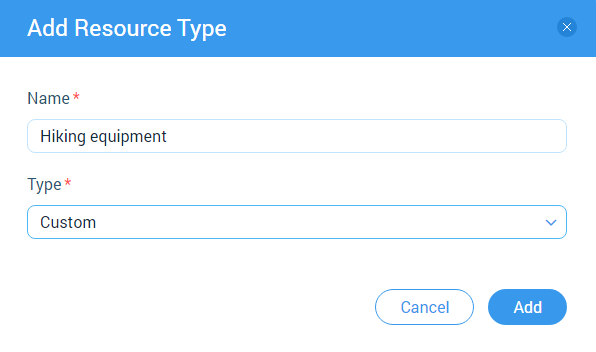
Click on the “+ Add Resource Type” button or on the familiar “+ Add New Resource Type” card.

Step 3
Fill out required fields:
- “Name” - resource type name;
- “Type” - custom or transfer resource types.
And click on “Add” button for resource category creation.
Step 4
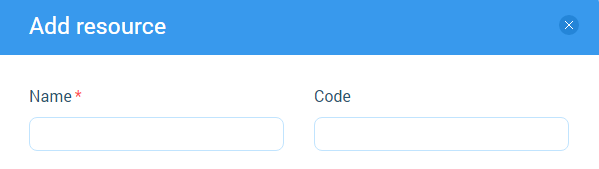
Click on the “+ Add Resource” button or on the same “+ Add New Resource” card.

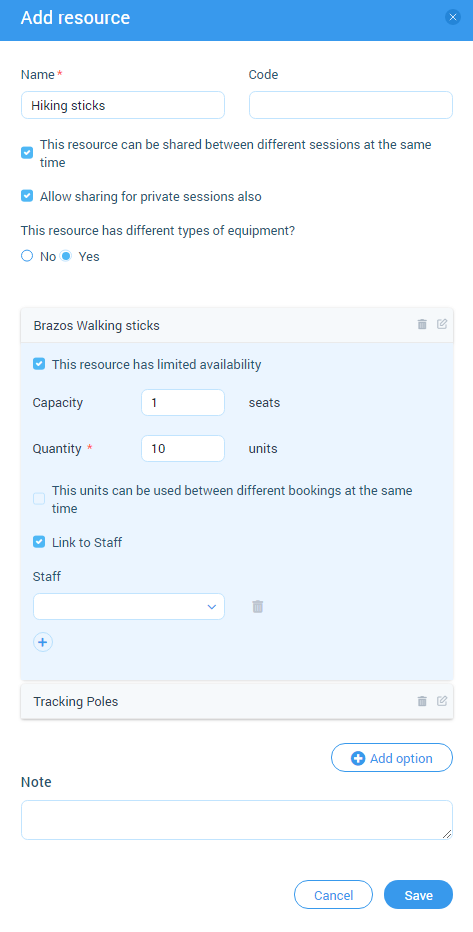
Step 5
Setup required information:
- “Name” - resource name;
- “Code” - allias for resource name. It is shows in “Bookings > Manifest view” section code when “Code” filled out;
- “This resource can be shared between different sessions at the same time” - activation of this option allows to use of the resource in different sessions. Seats are considered. Checkbox cannot be disabled if there are bookings in sessions of which this resource (its options) is shared. If the option is enabled, аdditional option appears which disabled by default with the name “Allow sharing for private sessions also”;
- “Allow sharing for private sessions also” - activation of this option allows to share the resource between private sessions. Checkbox disables, if this resource is use now;

- “This resource has different types of equipment?” - activation of this option allows to use additional types of the resource;
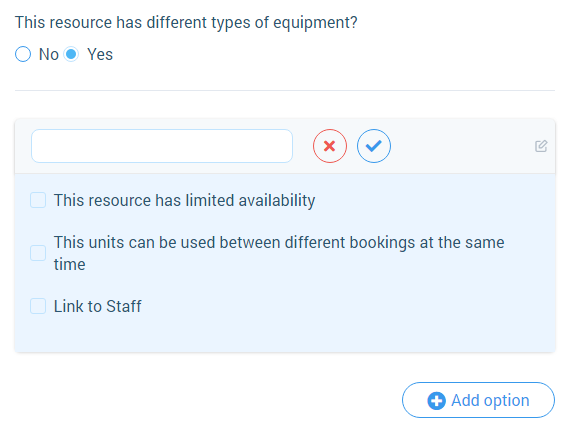
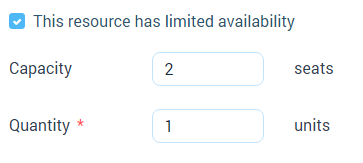
- “This resource has limited availability” - checkbox for setup limited availability of the resource. There are exist two fields: “Capacity” - for input number of a seats and “Quantity” - for input number of units of the resource;
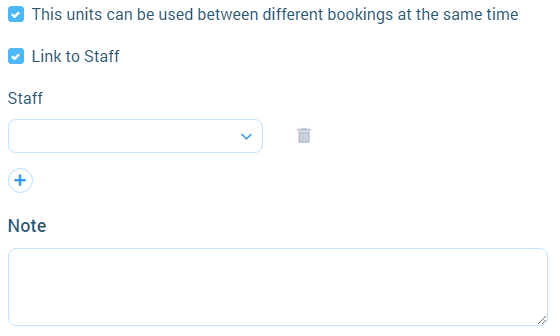
- “This resource can be used between different bookings at the same time” - аctivation of this option allows to use the resource on another bookings. Checkbox disables, if this shared resource is use already;
- “Link To Staff” - activation of this option allows to assign an employee for a resource. If roles have an associated employee, then dropdown is displayed.
- “Note” - use this option for making a notes.
Step 6
After setup all information click on “Save” button for creating a resource.