How to assign employee for a session?
Categories: Employees
Step 1
Create a session or schedule for a tour.
Step 2
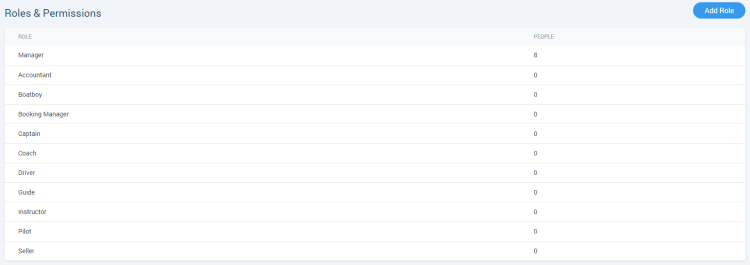
Go to “Manage > Employees > Roles & Permissions”.
Step 3
Open the role setup by select “Edit” menu item in the elipsis menu of the role card.

Step 4
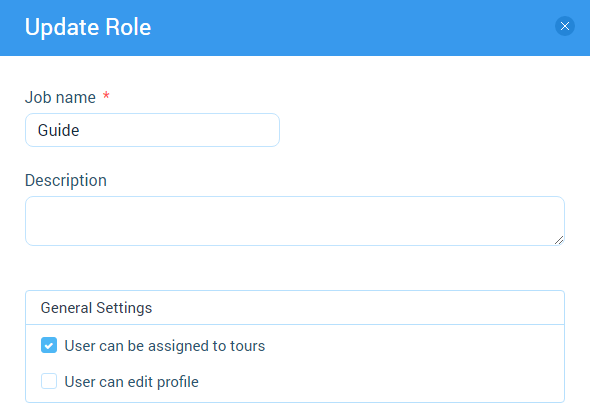
In the “General Settings” click on “User can be assigned to tours” checkbox and save changes by clicing on “Save” button.
Step 5
Go to “Manage > Employees” and open employee profile or invite a new employee.
Step 6
Go to “Settings” tab in the opened employee profile. And then turn on the options “User can be assigned to different sessions at the same time” or “User can be assigned to different bookings at the same time” if it’s required.

Step 7
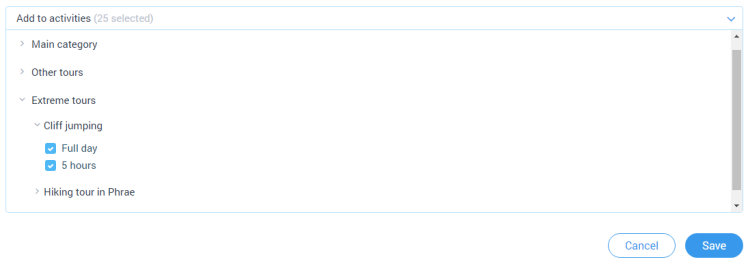
On the opened “Settings” tab choose the tours where employee will be assigned. And then click on “Save” button.
Step 8
Go to “Bookings > Manifest view”.

Step 9
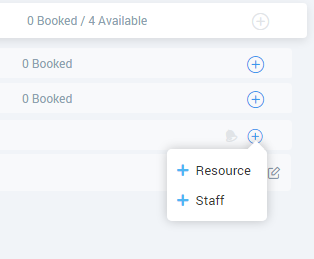
Click on the session card. And in the opened “Resources & Staff” block click on the “+” icon and choose “+ Staff” menu item.
Step 10
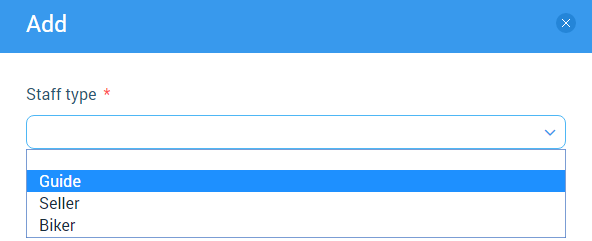
Choose staff type in the opened modal window.
Step 11
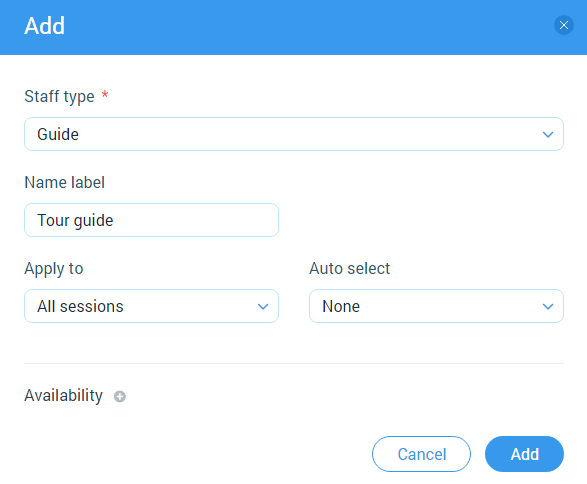
Setup:
- “Staff type” - dropdown with list of roles. Only previously created roles from “Manage > Employees > Roles & Permissions” are selected. The field is required;
- “Name label” - optional field for input the nickname of the created card. If nickname is specified for employee, then it is displayed in the employee card;
- “Auto select” - dropdown with the choice of counting employees: “TBD”, “Select staff in alphabetical order”, “Random select”, “Select the least recently used staff”, “Allow customer to select this staff”;
- “Apply to” - dropdown with a choice: “All sessions” (enabled by default), “This session only”. There is no empty value. If “This session only” is selected, then the card is displayed only in the current session.
After that click on “Add” button.
Step 12
Click on the dropdown field in the staff card which have been created and choose an employee who will be assigned for a session.
